
Installation & first start
From installation to the first drive in Explorer – in a few minutes and without an account.
1. Install the prerequisites
For drives the app needs two free programs. Run both installers with the default options:
Terminal, file browser and system info work without them too; if something is missing, the app tells you at start.
2. Install the app
Get the installer from the download page (or the portable version, which runs without installation). The installer asks for:
- the app's language,
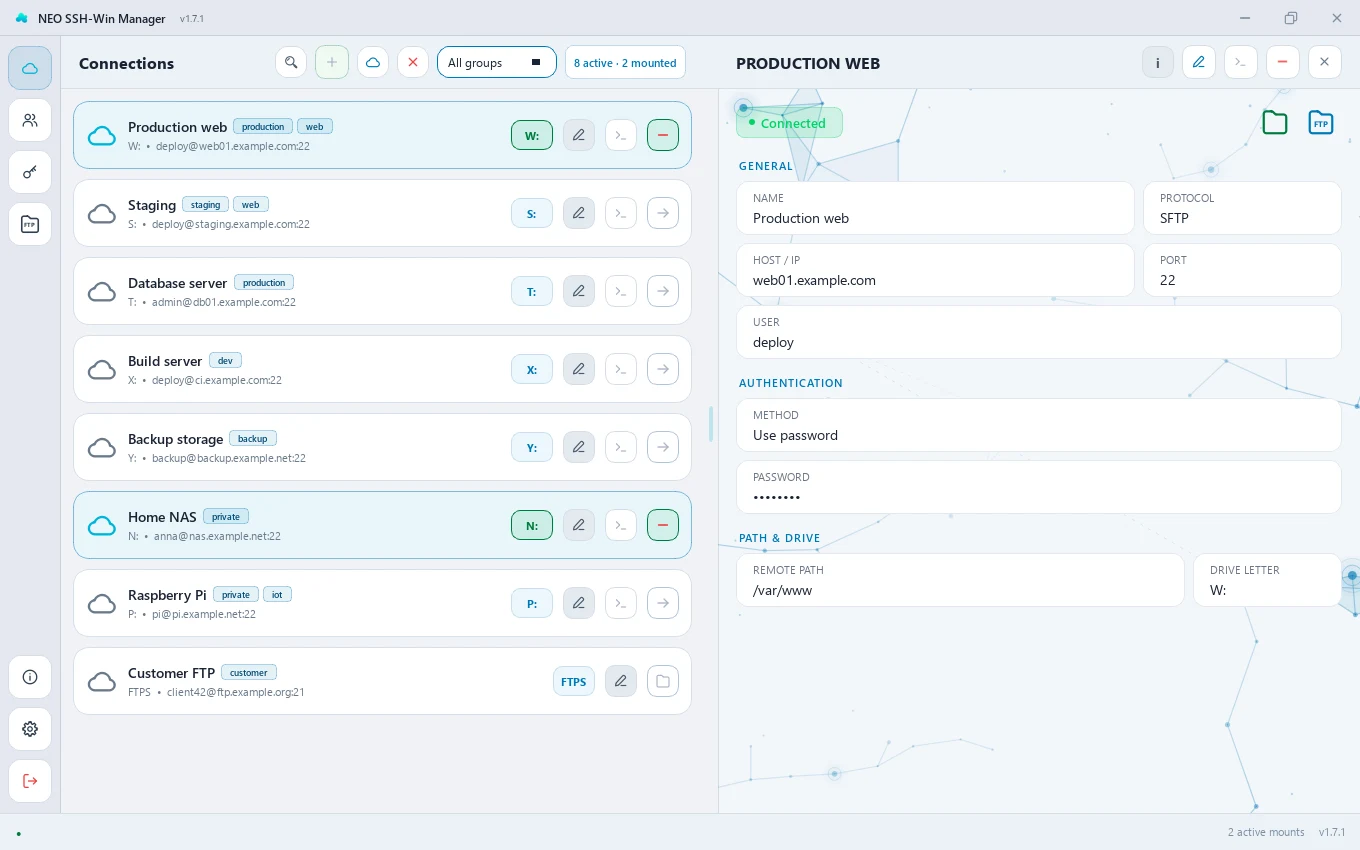
- the appearance: Black, Blue (classic), Gray or Light,
- the optional CLI component for scripts, a desktop shortcut and starting with Windows.
3. First start – no account needed
There is nothing to set up at the first start: the app starts in single-user mode and signs you in automatically. Once, it asks whether it may send anonymous usage counts – you can say no. If several people share the computer, create an account with a password later.
4. Create your first connection
- Click + above the list.
- Enter Name, Host and User, choose the method and the password or key.
- As the remote path, usually your home directory, e.g.
/home/username– not sure? Leave/and look in the file browser, see Finding the remote path. - Save.
Every field is explained on the Creating connections page; the “?” beside a field in the app leads straight there.
5. Mount the drive
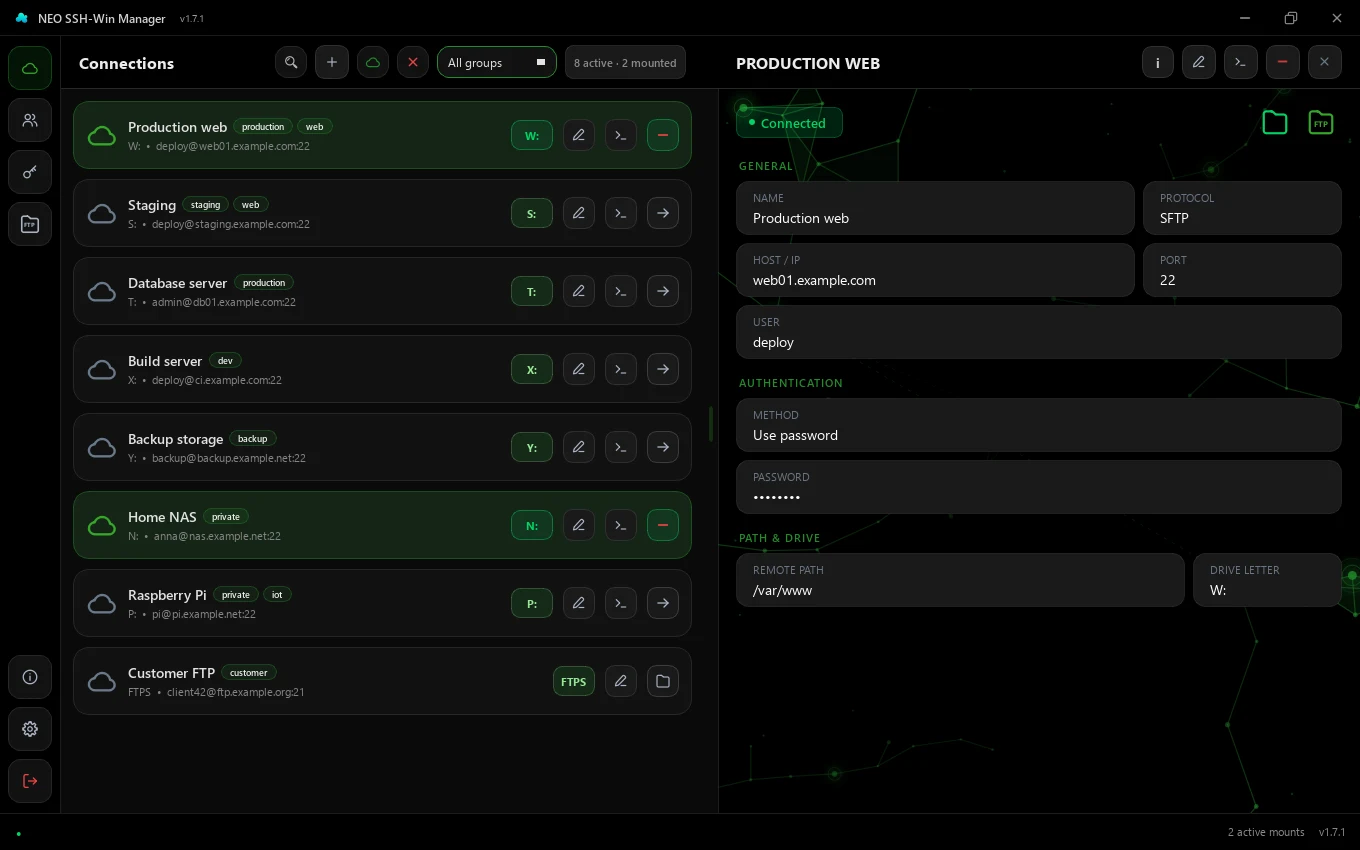
Click the arrow on the right of the card. The card changes colour and the drive appears in Windows Explorer – clicking the letter opens it. Next to it, >_ opens a terminal, and the connection's details lead to the file browser.
Next steps
- The interface – filter, terminal, file browser, tray and themes.
- Settings – theme, accent colour, auto-connect and more.
- Authentication – password, SSH keys and certificates.
- Troubleshooting – when something does not work.